Introducing New Remote Restores For More Accessible Cloud Backups
Are you securing your site backups in the cloud? You'll need an easy way to restore them. Our new features…

Introducing New Remote Restores For More Accessible Cloud Backups

 Joella Dunn
Joella Dunn
Joella Dunn
 John Turner
John Turner
John Turner
Are you not sure how to restore WordPress from a backup?
Once you have a backup of your WordPress website, you can restore it at any time. This can remove any errors in your files or database and return your site to normal.
In this tutorial, we’ll show you how to restore WordPress from a backup!
After you start your first website, it’s important to create backups regularly. A website backup is a saved copy of your WordPress database and files.
A backup acts as a safety net when something goes wrong. If you see an unexpected change or error, you can simply restore one of your saved site backups.
Here are some reasons why you might need to restore your website from a backup:
For example, your live site might display the White Screen of Death (WSOD). If you want to restore your WordPress theme, you’ll need to find a backup where it’s functioning correctly. Once you restore this version, your website will be back up and running.
Essentially, site restore options can prevent you from troubleshooting unexpected errors. You can go to a recent site backup, restore it, and immediately solve the problem.
To make sure you don’t lose important website files, you’ll want to have a recovery plan. Don’t worry, we’ll give you a step-by-step guide on how to restore WordPress from a backup!
One simple way to back up and restore your website is to install a WordPress backup plugin. This prevents you from having to manually edit your site files or database.
Duplicator is a powerful and flexible plugin for making database and file backups. You can use this tool to schedule website backups and restore your site with just one click.

Along with backup and restore options, here are some more helpful features available in Duplicator Pro:
To start restoring your site, select a subscription for Duplicator Pro. This will include support for one-click restores and disaster recovery. Once you check out, download the plugin.
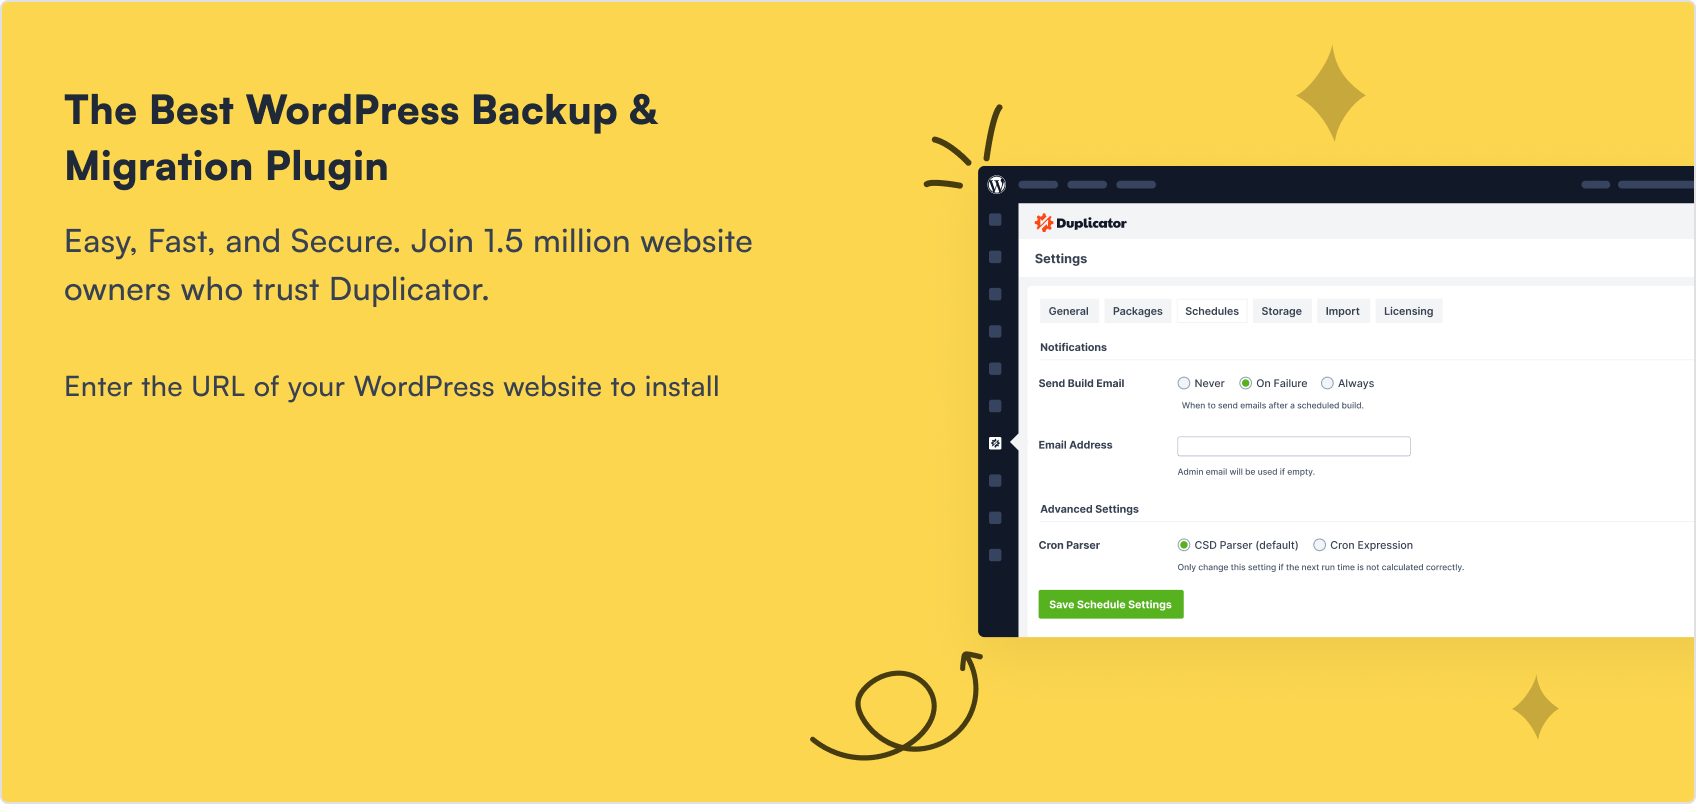
Next, install and activate Duplicator in WordPress. Before you start using the plugin, go to Duplicator Pro » Settings » Licensing. Under Activation, paste the license key you received during registration:

Then, click on the Activate button.
After you activate Duplicator, you can create your first backup. This will save a copy of your site in a zip file. It includes your core WordPress files and MySQL database for easy restoration later.
First, build a new package by navigating to Duplicator Pro » Packages » Create New:

At the top of the page, give the package an identifiable name. This will help you locate it later. Alternatively, Duplicator will generate a random name for you:

Next, choose a storage location. Duplicator supports all of these options:

We’d recommend creating a full backup of your entire website. However, you can also use the one-click restore button to roll back your database or other parts of your site. So, feel free to customize the backup.

Once you continue to the next step, Duplicator will scan your website. Review any notices before hitting Build:

At this point, Duplicator will automatically start performing a file and database backup.
Now that you have a backup of your website, you can restore it whenever you need to. Your website will revert back to these saved files and database settings, removing any errors.
Some WordPress backup plugins make it difficult to restore your website. Not Duplicator!
First, find the backup you want to restore. Then, click on the Restore button next to it:

You can even restore cloud backups in one click! Duplicator will first download the backup to your local server.

Then, it’ll automatically open the restoration wizard. Accept the terms and notices before hitting Restore Backup:

Now Duplicator will instantly roll back your site to its previous state. Use the Admin Login button to access your error-free site:

If you restored an old backup, newer backups will have a warning that they were created after the last restored backup. This lets you avoid any backups with errors:

With one-click restores, you’ll have full control over your website. You can test new code, adjust your theme, and make other changes without worrying about losing any data.
Sometimes, an error will lock you out of your WordPress dashboard. In this case, you won’t be able to use Duplicator’s one-click restore button.
Don’t worry, you can still restore your site. By setting a backup as the disaster recovery point, you can launch the recovery wizard without needing to log in.
As a first step, back up your WordPress site. To use the disaster recovery feature, be sure to save the backup to local storage. Don’t exclude any core WordPress files or database tables.
Once you create a full backup, you can use it to recover your data if your site ever goes down!
Before you experience a WordPress error or hack, you can make your newest backup the disaster recovery point. Next to the backup, click on the blue house icon:

In the pop-up, hit Set Disaster Recovery:

Duplicator will then give you two different ways to restore your backup. You can either copy the recovery link or download the launcher:

Copy the recovery link and save it in a safe location, separate from your WordPress site. You can also download the launcher, which is an HTML file that launches the recovery wizard.
Whenever your site goes down, find your recovery link. Open a new browser window and paste the URL. This will let you recover your data without a functional site:

You can also open the launcher. This file immediately starts the recovery process.
Accept the terms and notices and click Restore Backup. You’ll have to confirm the installation since it will modify your current site.
Duplicator will take a few minutes to revert to your backup. When it’s finished, you can access your restored website! To do this, simply click on the WordPress Admin Login button.
Sometimes, it can be harmful to install too many plugins on your website. If you’re trying to limit your plugin use, you can manually restore your backup files.
However, you’ll need to have some experience with your WordPress files and database. For complete beginners, we’d recommend using Duplicator to simplify the restore process. Plus, this can ensure that you don’t lose any data to user error.
Before you get started, you’ll need to do a manual backup of your database and site files. Once you have these files on your local computer, you can re-upload them to WordPress.
During a manual restoration, you’ll have to re-upload both your saved database and WordPress files. Let’s start by importing an error-free copy of the database.
Usually, your web hosting provider will allow you to log in to phpMyAdmin through your control panel. Alternatively, it may provide an easier way to manage your databases. If you’re using cPanel, for example, find the MySQL Databases button:

Next, create a new database. This will be the location where you upload your saved database:

After this, add a new MySQL user. Be sure to pick a new username and password, especially after hacks or cyber attacks:

Now, find Add User to Database. Here, select the user and database you just created:

Once you have a new database and user, go back to your WordPress hosting account. You’ll need to find the phpMyAdmin login button:

This will open your database manager. Select your new database name and click on Import:

Under the File to import section, click on Choose File and upload your saved database file. It should be in a zipped SQL file:

Once you hit Go, your database will be restored! As a final step, open your wp-config.php file and find your database information:

You’ll need to update the database name, user, and login credentials to point to the new database.
To get your site up and running again, it’ll also need functioning WordPress files. Once you have a backup saved, open a File Manager or File Transfer Protocol (FTP) client. Usually, your host will have a preferred method for managing site files.
For this tutorial, we’ll be using FileZilla, which is a free SFTP/FTP client. First, connect to your website using your host’s name, username, password, and port:

You’ll know your site connects when you see data in the Remote site box. Here, open the public_html folder. Select all of the files, right-click on them, and hit Delete:

Now you can simply drag and drop your saved backup files from your local computer to the public_html folder. If they upload properly, FileZilla will label it a Successful transfer.
If your web host provides cPanel, this has an easy way to restore WordPress. All you’ll need to do is find the Files section and hit Backup:

Then, you’ll see a variety of backup and restore options. If you downloaded a copy of your home directory with cPanel, you can upload this file under Restore a Home Directory Backup:

To restore your database, upload a backup to the Restore a MySQL Database Backup option.
After you upload both of these site components, you’ll fully restore your WordPress website!
You can restore WordPress from a zip backup file by creating a backup with Duplicator Pro. Then, set this package as the disaster recovery point and copy the recovery URL. If your site crashes, paste this URL into a browser window and follow the steps to recover your site.
To restore a WordPress backup on localhost, build your locally hosted website. Next, install Duplicator Pro and find the Import page. Upload your backup and use the Duplicator recovery wizard to import all your data into the local site.
Your WordPress backups could be stored on your local server or on a third-party cloud storage location. With Duplicator, you can choose exactly where you want to save backups. It’ll provide many different storage options, including Google Drive, Dropbox, Microsoft OneDrive, and more.
You can back up and migrate your WordPress site by installing the Duplicator Pro plugin. This tool allows you to compress your entire site into a single zipped archive file. Then, you can save this as a backup or easily transfer it to a new host, server, or domain name.
Alternatives: Other backup/restore and migration plugins include UpdraftPlus, All-in-One WP Migration, and Jetpack.
To restore your WordPress site without the database, create a package with Duplicator that only includes your WordPress files. Be sure to uncheck the database option in your custom package components:

Continue building the package. If you ever need to restore this backup, click on the Restore button next to it.
Once you continue with the restoration, Duplicator will only overwrite your files. It won’t perform any actions on the database.
By following these steps, you’ll be able to restore WordPress from a backup!
Here are some extra WordPress tips and tricks to get the most out of your website:
When you need to get your website back online, there’s no need to worry. Download Duplicator Pro to easily restore your custom WordPress site!

Disclosure: Our content is reader-supported. This means if you click on some of our links, then we may earn a commission. We only recommend products that we believe will add value to our readers.